
Prerequisites :
Please make sure you have installed and created accounts of the following.
- SQL Server Management Studio 2017 (SSMS)
- Microsoft Data Migration Assistant (DMS)
- Azure portal (Free subscription)
Create SQL server Database
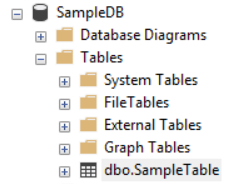
Create SQL server database using SQL server management studio and create a table and add some data to that table. I have created a database and a table named as SampleDB and SampleTable as shown in following figure.
Create a blank Azure SQL database
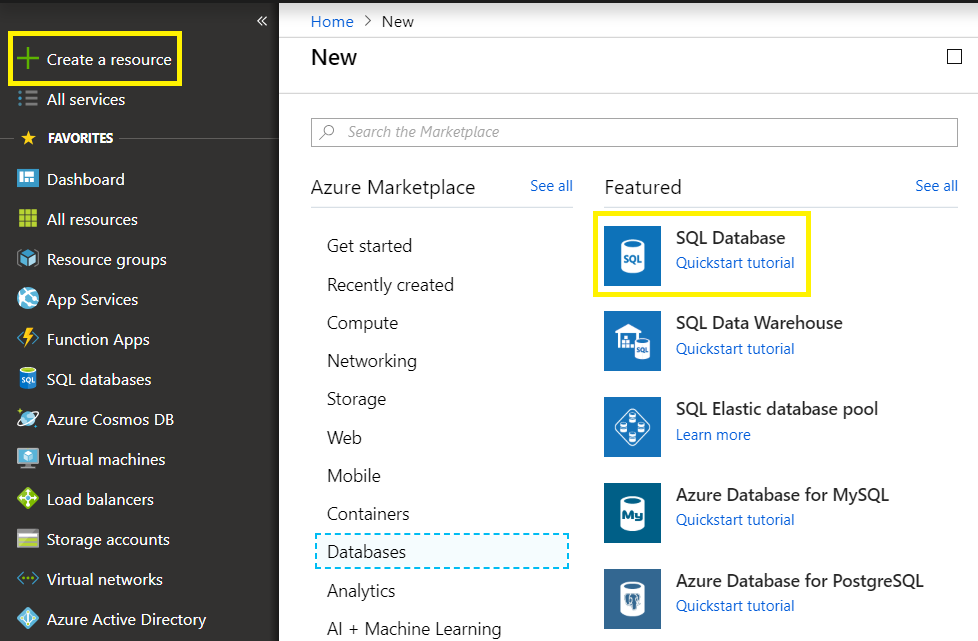
Login to the azure portal and Click Create a resource in the upper left-hand corner of the Azure portal. After that select Databases from the Navigation menu, and select SQL Database.
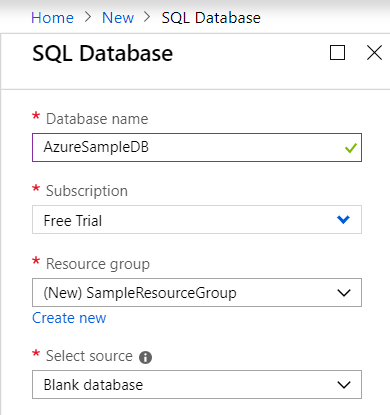
Now you need to fill out some details to create the database. Make sure to fill out correct details. Since I am using azure free subscription for this blog post, subscription is given as free trial, Database name is given as AzureSampleDB, Resource group is given as SampleResourceGroup, Source is selected as Blank database.
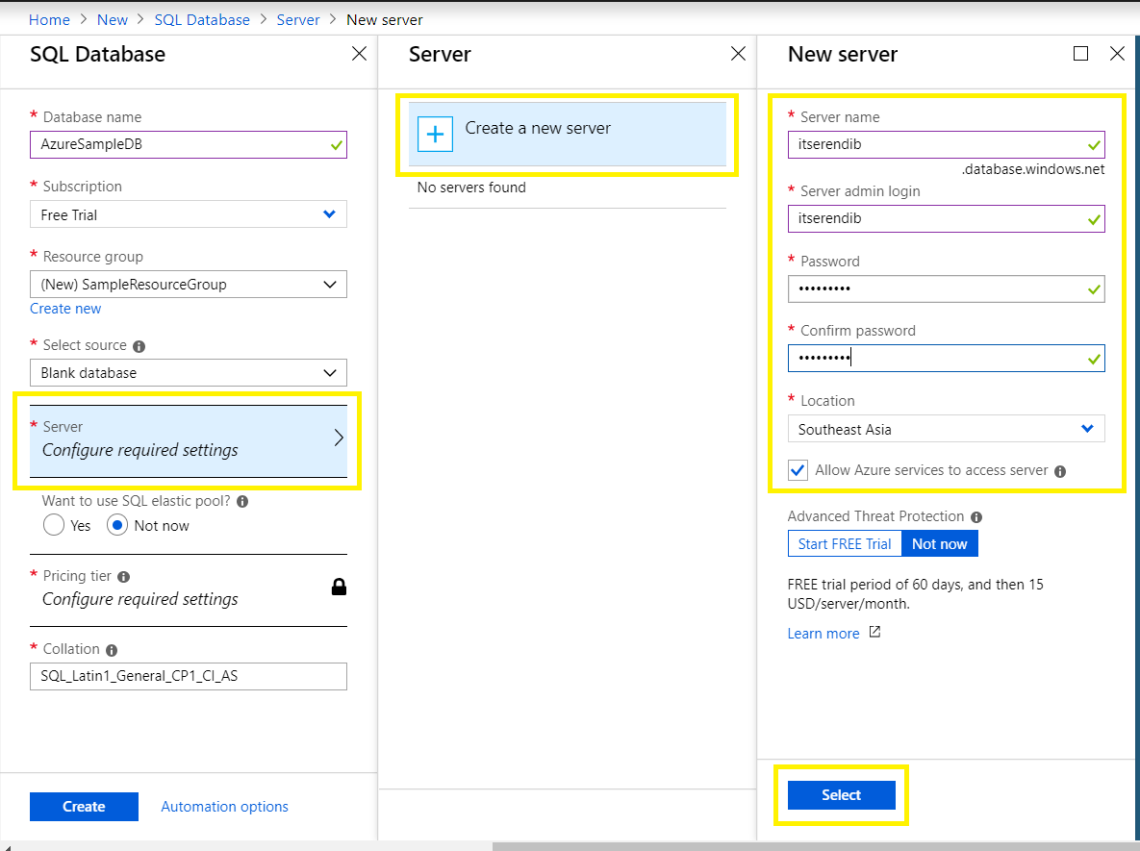
Click Server (configure required settings) to create and configure a new server for your new database. Fill out the New server form with the correct information and click select button.
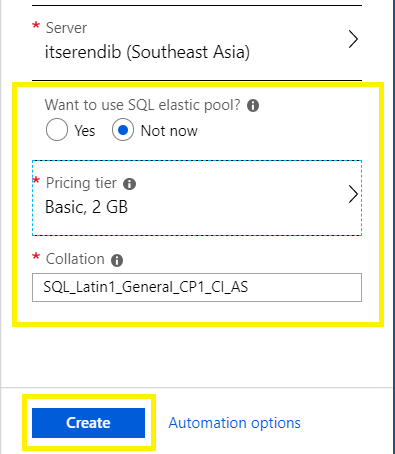
If you want to use SQL elastic pool select the Yes radio button. SQL Database elastic pools are a simple, cost-effective solution for managing and scaling multiple databases that have varying and unpredictable usage demands. The databases in an elastic pool are on a single Azure SQL Database server and share a set number of resources at a set price. Elastic pools in Azure SQL Database enable SaaS developers to optimize the price performance for a group of databases within a prescribed budget while delivering performance elasticity for each database.
I have selected the basic pricing tier for my database. Now that you have completed the SQL Database form, click Create to provision the database. Provisioning takes a few minutes.
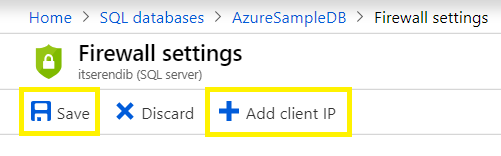
Database has been created now and we need to set server firewall. Go to the database that we have created by clicking SQL databases in left hand menu and select set server firewall as following figure.

Under the firewall settings click add client IP and save it. It will automatically add your ID address and a server-level firewall rule is created for your current IP address.
Now we are going to migrate our SQL server database into azure SQL server database. Make sure you have downloaded and installed microsoft data migration assistant in your computer.
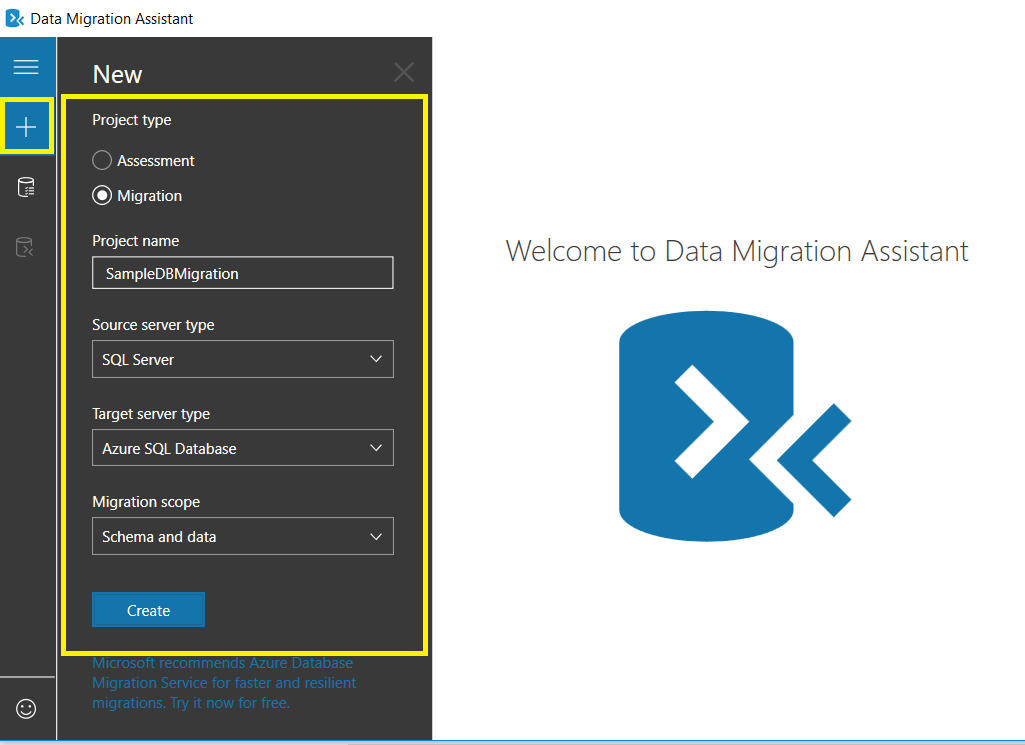
Open up the DMS and click + to create new project and fill information and click create button as follows.
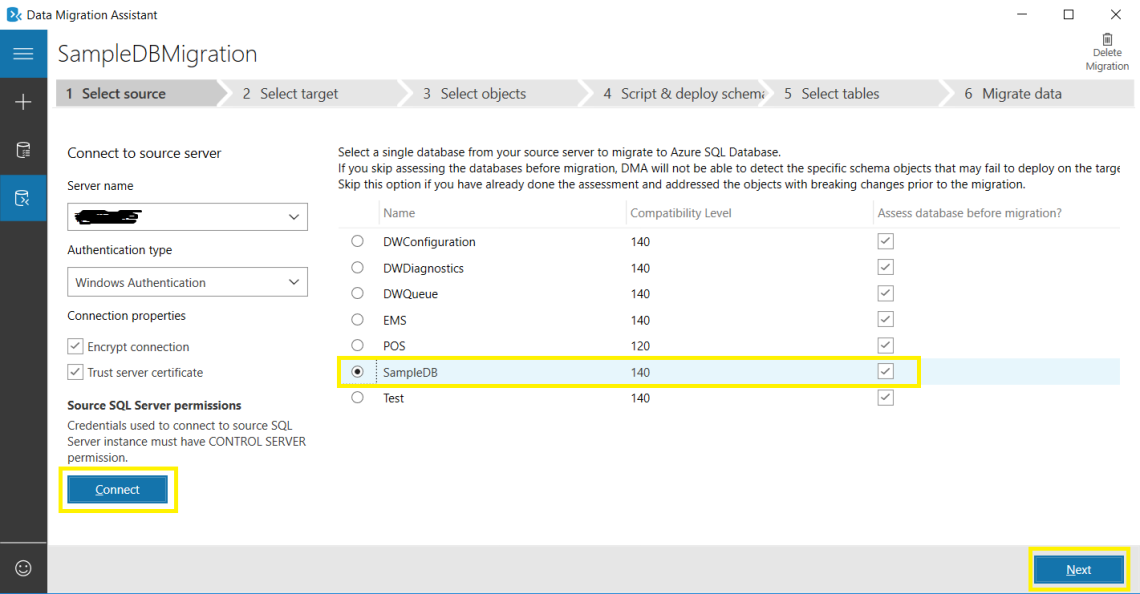
Now you need to fill your local SQL server name and select windows authentication as authentication type. Once you click on the connect button you can see your database list. Select the database that you want to migrate to an azure SQL server database. Now click on the next button.
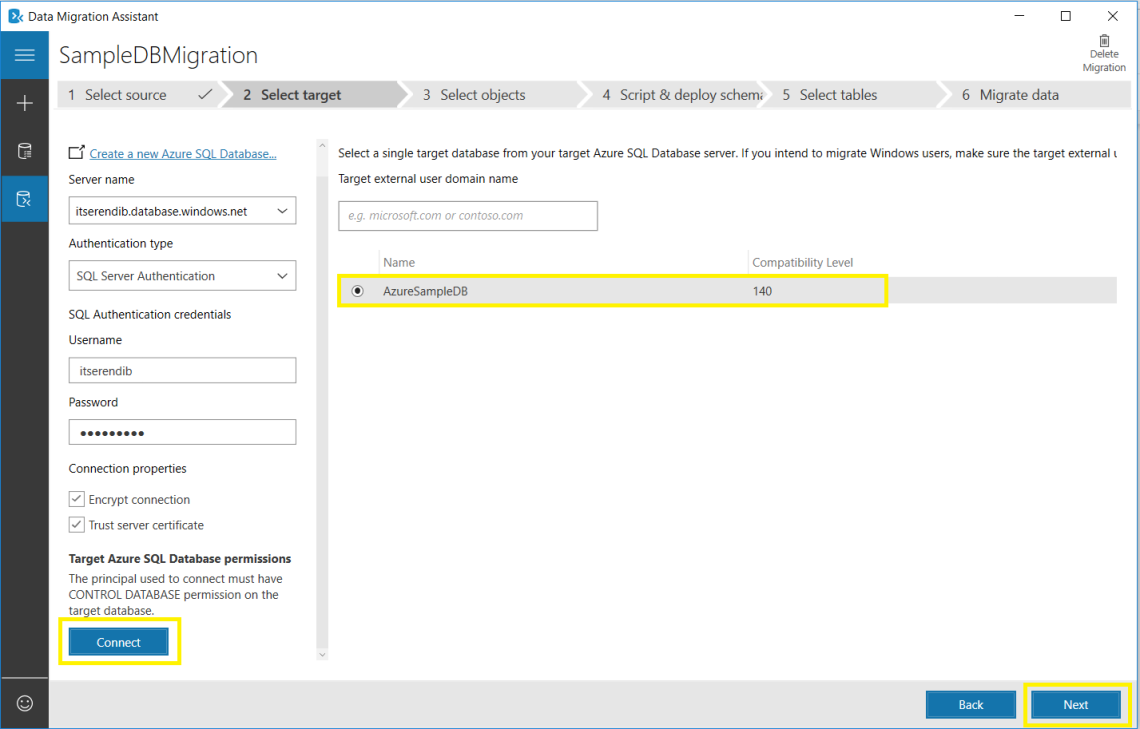
Now you are navigated to a new window. Here you should select the target. Give server name and select SQL server authentication as authentication type. Click on the connect button after giving SQL authentication credentials. Once you connect you can select the database. In my case it has already been selected by default.
Just click on the next button. Now select the schema object from your source database that you would like to migrate to Azure SQL database and click on the generate SQL script. This schema is generated for the selected schema objects. Review the script, make changes if necessary and click deploy schema button. Once your schema migration is completed you can migrate data by clicking migrate data button. Select the tables containing data you would like to migrate to azure SQL server database. Finally click on the start data migration button.
Migration process is over. You can find error list, warnings etc. If you have completed with success message, you are done. If it has warnings just forget about that. Now you can login to your azure portal and go to the database. You can see all tables and data you have migrated.
References
https://docs.microsoft.com/en-us/azure/sql-database/sql-database-elastic-pool
